· 4 min read
How to start a fast blog website using AstroWind?
Launch your own blazing-fast blog with the AstroWind template for free! This guide provides a step-by-step process to get your website up and running quickly.
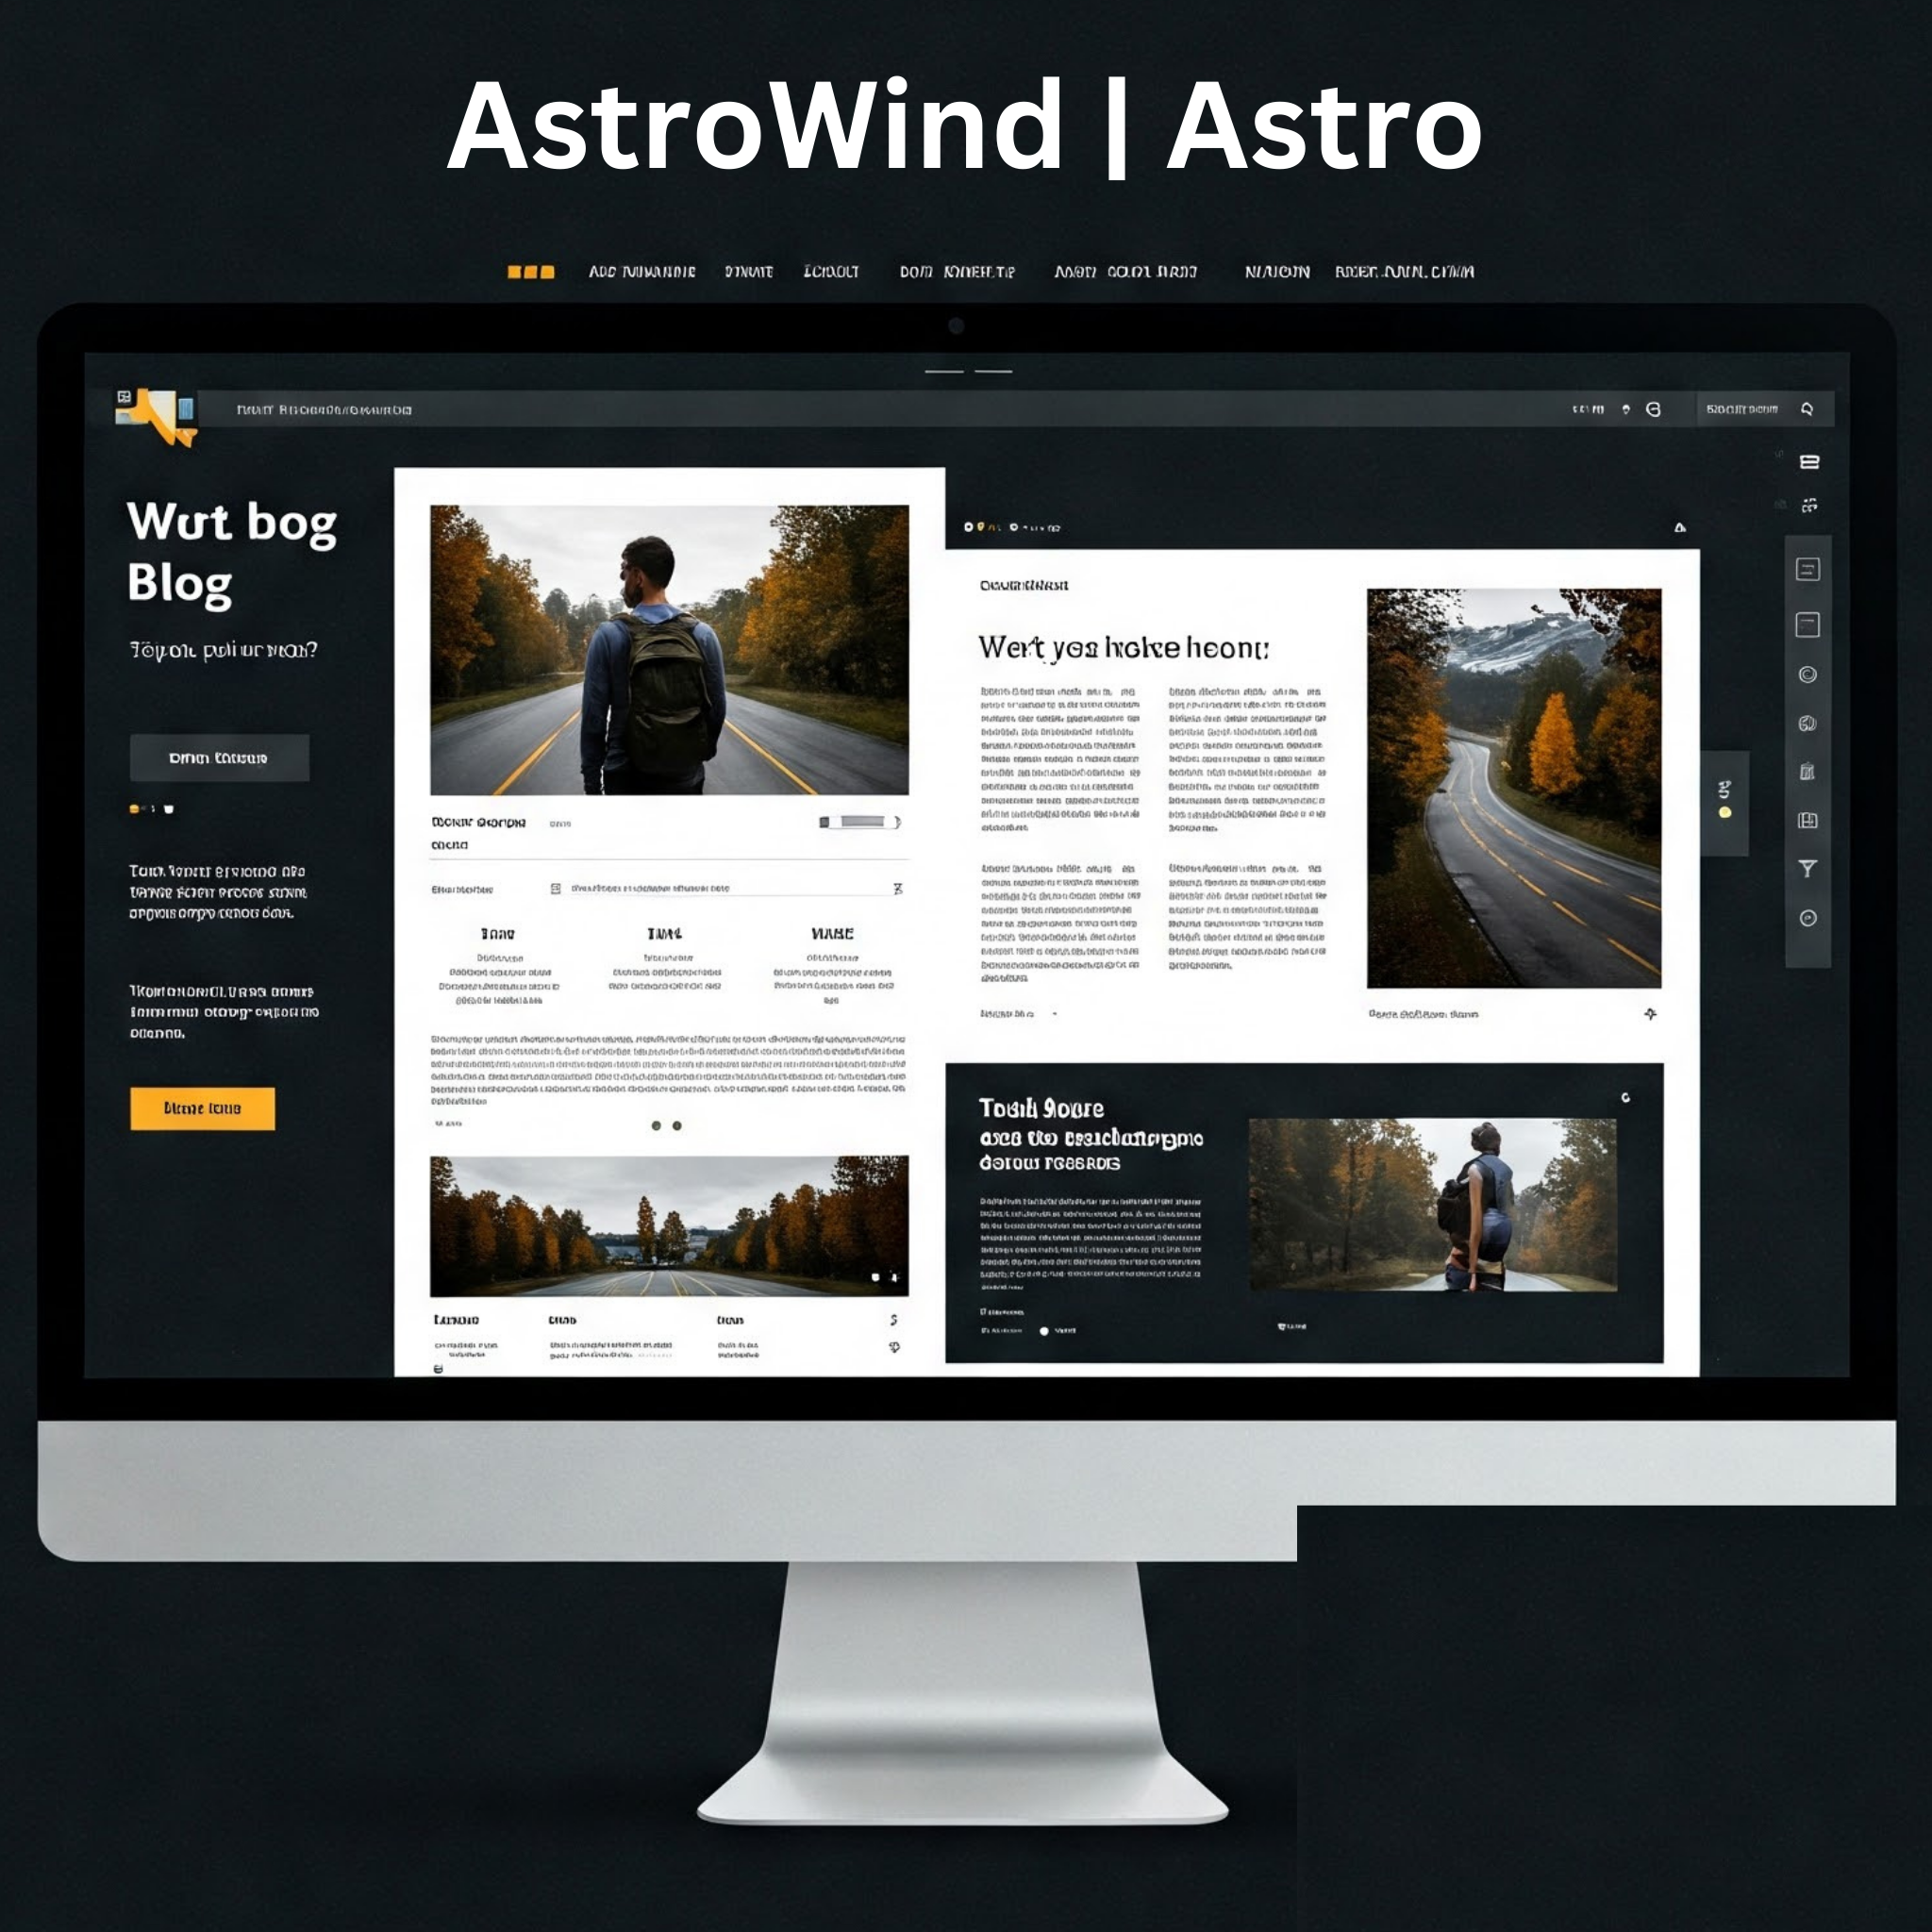
Want to get your thoughts and experiences online quickly with a website that feels lightning fast? AstroWind, a free and open-source Astro blog template that is super fast.
What You Need:
Before we dive in, make sure you have the following:
- Visual Studio Code (VSCode) Installed: Download and install VSCode. It’s a powerful and free code editor that will greatly simplify the process.
- Github account: If you don’t have one, create a Github account in [github.com](github.com).
Step-by-step guide to setting up your blog with AstroWind in VSCode:
- Go to onwidget/astrowind. Be sure that you are logged in to your Github account.
- Click on ‘Use this template’ on the top right.
- Enter the repository name (ex. ‘my-blog’), select ‘private’, then click ‘Create Repository’.
- Within your new repository, click ‘Clone’ and copy the HTTPS URL.
- Launch the Visual Studio Code application.
- Go to the “Terminal” menu at the top and select “New Terminal.” This will open an integrated terminal within VSCode, allowing you to run commands without leaving the editor.
- Navigate to your desired project directory: Use the
cdcommand (change directory) in the VSCode terminal to go to the folder where you want to create your blog’s folder and files. For example, if you want your blog folder (or repository) to be under ‘Documents’, then:
cd Documents- Run the following command in the VSCode terminal. This command will clone the Github repository that you just created. Be sure to use the HTTPS URL you copied from Github.
git clone {HTTPS URL}Example (Do not copy/use this. This is just an example):
git clone https://github.com/onwidget/astrowind.git- Go to directory of your repository.
cd my-blog- Install Dependencies:
npm install- Start the development server**:**
npm run dev- View your blog in your browser: The VSCode terminal will likely tell you that the development server has started and is running at
http://localhost:4321(or a similar address). Open your web browser and go to this address. You should now see the basic AstroWind blog template running! - Explore the project structure in VSCode’s explorer**.** On the left sidebar of VSCode, click the “Explorer” icon (the top icon resembling files). This will show you the file structure of your newly created AstroWind project. You’ll see key directories and files:
src/content/blog/: This is where your blog posts will live. Astro uses Markdown or MDX files for your content. You’ll find a sample post here.src/pages/: This directory contains your website’s pages. Theindex.astrofile is your homepage.src/layouts/: Layout components define the structure of your pages and blog posts.public/: This is where you can put static assets like images.astro.config.mjs: The main Astro configuration file.
- Start customizing your blog within VSCode:
- Edit the Sample Post: In the Explorer, navigate to
src/content/blog/and open the sample Markdown file. You can edit the title, description, date, and the content of the post directly within the VSCode editor. Save your changes (Ctrl+S or Cmd+S). - Create New Posts: In the Explorer, right-click on the
src/content/blog/folder and select “New File.” Name your new post with a.mdextension (e.g.,my-first-post.md). Follow the format of the sample post, including the frontmatter at the top with title, description, date, etc. - Customize the Homepage: Open
src/pages/index.astroin the Explorer to edit the content displayed on your homepage using Astro’s component syntax directly within the VSCode editor. Save your changes. - Change the Site Title and Description: Look for the
<title>tag and meta description in the layout files (src/layouts/) which you can open and edit in VSCode. You’ll also likely find site-wide settings inastro.config.mjswhich you can modify within the editor. - Add Images: Create an
imagesfolder within thepublic/directory in the Explorer. Place your image files there. You can then link to them in your Markdown or Astro components using paths like/images/your-image.jpg.
- Keep Learning and Exploring: Astro and AstroWind offer a lot of flexibility. Refer to the Astro documentation and the AstroWind documentation to learn more about customization options, adding new pages, and deploying your blog. You can do most of this directly within the VSCode environment.
- Deploy your blog for free using Vercel.
Congratulations! You’ve now set up a fast blog website using the AstroWind template.