· 5 min read
How to install Ubuntu 24.04?
This blog post provides a clear and concise how-to guide for installing Ubuntu 24.04. Perfect for beginners, we'll cover the necessary prerequisites, creating your installation media, and the step-by-step process to get Ubuntu up and running on your machine.
As of this writing, April 2025, I just installed Ubuntu 24.04 in my laptop as a replacement for my Windows 11. I wanted to dive deeper into the Linux environment which is why I decided to remove Windows and install an Ubuntu instead. If you want to try Ubuntu operating system, here’s some instructions for you.
What You Need:
Before we get started, make sure you have the following:
- A Computer: This could be your main desktop, a laptop, or even a virtual machine. Ensure it meets the minimum system requirements for Ubuntu 24.04 (typically a 2 GHz dual-core processor, 4 GB of RAM, and 25 GB of free disk space).
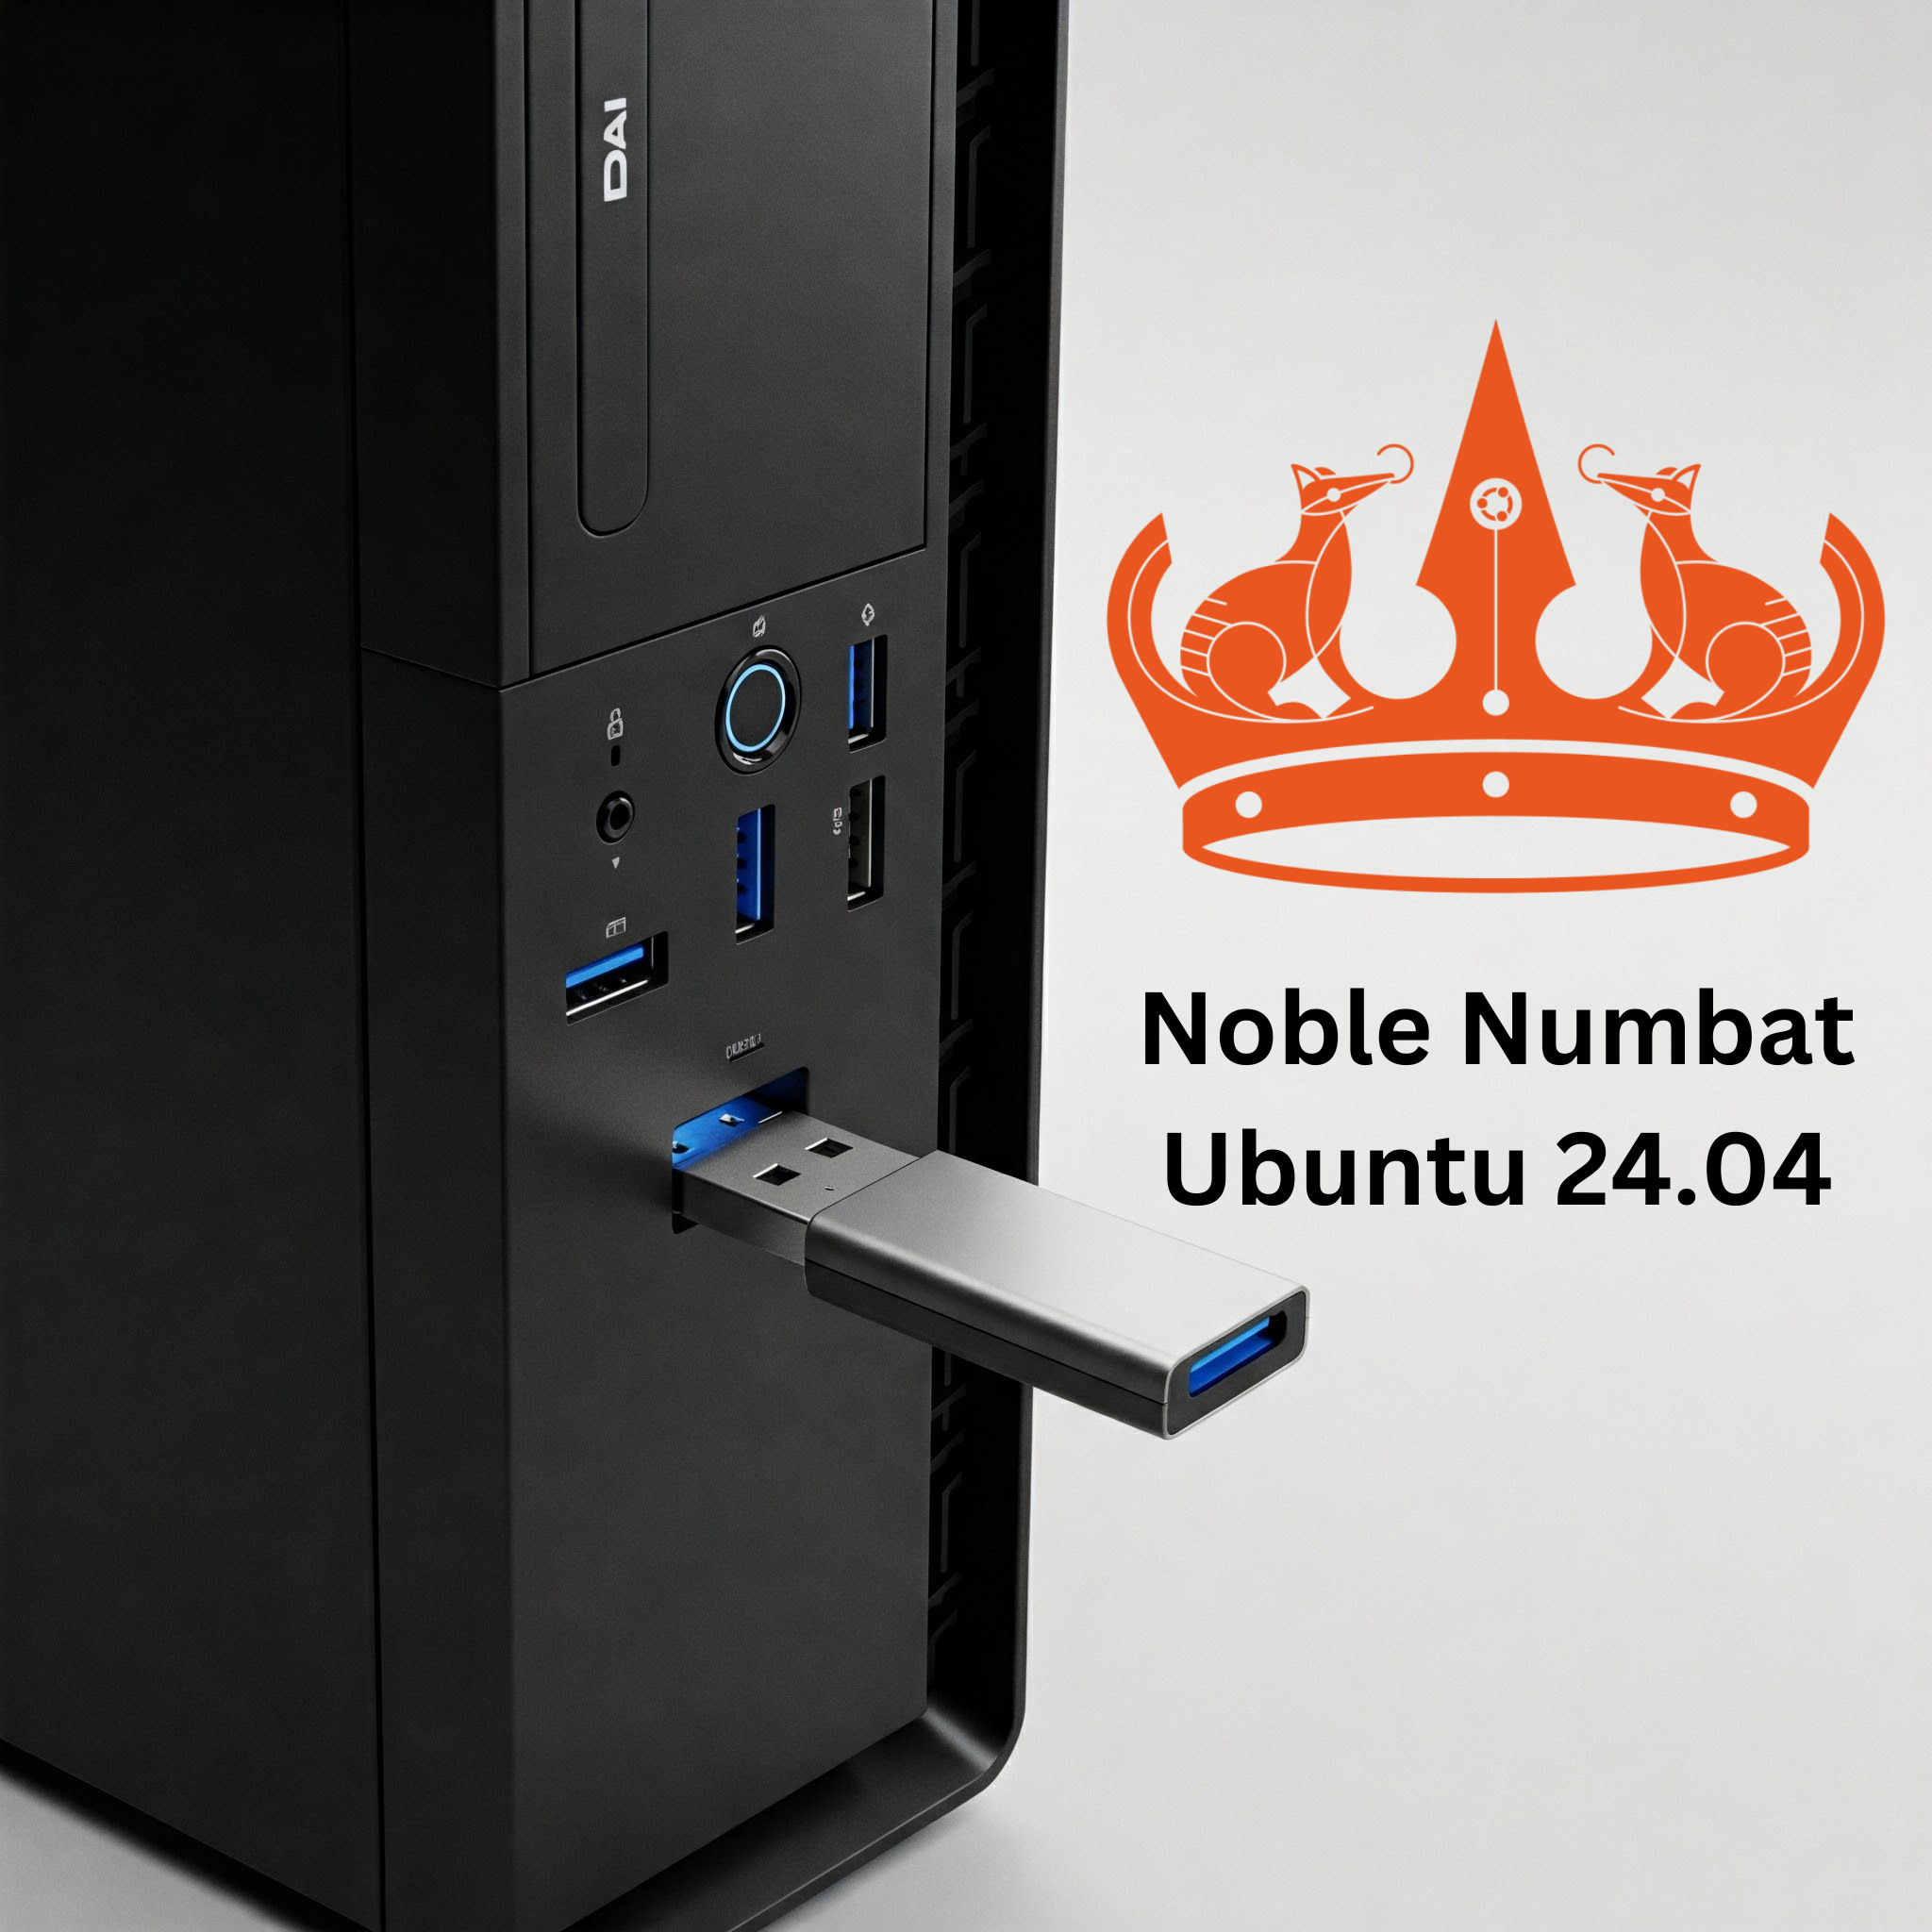
- A USB Drive (at least 8GB): This will be used to create a bootable installation medium. Make sure there’s nothing important on this drive, as it will be formatted during the process.
- Internet Connection: You’ll need internet access to download the Ubuntu 24.04 ISO file.
- Ubuntu 24.04 ISO File: You can download this for free from the official Ubuntu website (https://ubuntu.com/download/desktop). Look for the latest stable release.
- A Tool to Create a Bootable USB Drive: Rufus (Windows): https://rufus.ie/
- Patience: Installing an operating system takes a little time, so don’t rush!
Step-by-Step Guide to Installing Ubuntu 24.04:
- Download the Ubuntu 24.04 ISO File: Head to the official Ubuntu download page and download the Ubuntu Desktop image.
- Create a Bootable USB Drive:
- Using Rufus (Windows):
- Plug your USB drive into your computer.
- Open Rufus. It should automatically detect your USB drive.
- Click the “SELECT” button and browse to the Ubuntu 24.04 ISO file you downloaded.
- Leave the other settings as default (usually “MBR” for Partition scheme and “BIOS or UEFI” for Target system).
- Click the “START” button. You’ll get a warning that all data on the USB drive will be destroyed. Click “OK” to proceed.
- Wait for the process to complete. Once done, click “CLOSE.”
- Restart Your Computer and Boot from the USB Drive:
- Shut down your computer completely.
- Turn it back on. As it starts, you’ll need to press a specific key to enter the BIOS/UEFI settings or the boot menu. This key varies depending on your computer manufacturer (common keys include Del, F2, F12, Esc, F10). Check your computer’s manual or look for a prompt on the screen during startup.
- In the BIOS/UEFI settings or boot menu, look for options related to “Boot Order,” “Boot Devices,” or similar.
- Select your USB drive as the primary boot device. This might be listed under “Removable Devices” or the name of your USB drive.
- Save the changes and exit the BIOS/UEFI. Your computer should now restart and boot from the USB drive.
- Start the Ubuntu Installation:
- You’ll see the Ubuntu boot menu. Select “Try or Install Ubuntu” and press Enter.
- Ubuntu will start loading the installation environment.
- Choose Your Language: On the welcome screen, select your preferred language and click “Install Ubuntu.”
- Keyboard Layout: Choose your keyboard layout and click “Continue.”
- Updates and Other Software: You’ll be asked what kind of installation you want. For beginners, the “Normal installation” is usually recommended as it includes common software like a web browser, office suite, and media players. You can also choose whether to download updates while installing Ubuntu and install third-party software for graphics and Wi-Fi hardware. Select your preferences and click “Continue.”
- Installation Type: This is an important step.
- Erase disk and install Ubuntu: This will completely erase everything on your selected hard drive and install Ubuntu. Be very careful with this option if you have important data on your computer!
- Something else: This option allows you to create or resize partitions manually. It’s more advanced and generally not recommended for beginners unless you have specific partitioning needs.
- If you want to keep your existing operating system (dual-boot): The installer might detect your existing OS and offer an option like “Install Ubuntu alongside [Your Other OS]“. Choose this if you want to have both operating systems on your computer.
- Select your desired option and click “Install Now.” If you choose “Erase disk and install Ubuntu,” you’ll get a confirmation prompt.
- Where are you?: Select your time zone and click “Continue.”
- Who are you?: Enter your name, your computer’s name, a username, and a strong password. Choose whether you want to log in automatically or require a password. Click “Continue.”
- Installation Progress: Ubuntu will now begin installing the system files. You’ll see a progress bar and some information about Ubuntu. This process can take some time, so be patient.
- Installation Complete: Once the installation is finished, you’ll see a “Installation complete” message. Click “Restart Now.”
- Remove the USB Drive: As your computer restarts, it’s crucial to remove the bootable USB drive. Otherwise, it might boot from the USB again.
- First Boot into Ubuntu: After restarting, your computer should boot into your new Ubuntu 24.04 installation. You’ll be greeted with a login screen (if you chose to require a password). Enter your password, and you’re ready to explore Ubuntu!
Congratulations! You’ve successfully installed Ubuntu 24.04. Take some time to explore the new environment and enjoy your open-source journey!